Looking for a gift that’s as unique as your loved one? Or maybe you want to turn your morning coffee into a walking billboard for your brand? Welcome to the world of custom mugs in Kenya—where practicality meets creativity, and every sip tells a story! Whether you’re in Nairobi, Mombasa, or Kisumu, personalized mugs are more than just drinkware. They’re laughter shared over chai, memories from a wedding, or the face of your thriving business. Ready to dive in? Let’s brew up something unforgettable!
Because Ordinary is Boring! 😉
In Kenya, we love things that speak to who we are. Here’s why personalized gift mugs in Kenya are stealing hearts:
Your Story, Your Mug: Add names, photos, or quirky quotes—perfect for birthdays, weddings, or shouting “Habari!” to a new neighbor.
Branding with Swag: Mug branding in Kenya is a game-changer! Imagine your logo on a custom branded ceramic mug—it’s marketing that’s sipped daily.
Affordable Luxury: Forget pricey gifts. A customized mug in Nairobi costs less than a fancy dinner but lasts way longer.
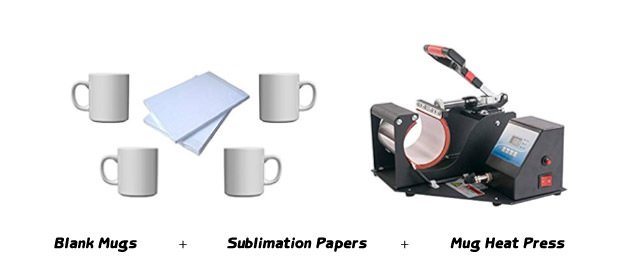
Before you begin, gather the following materials:
- Blank mugs (ceramic or glass)
- Design software (like Photoshop or free online tools)
- Sublimation printer and sublimation ink
- Sublimation paper
- Heat press machine or mug press
- Heat-resistant tape
- Scissors
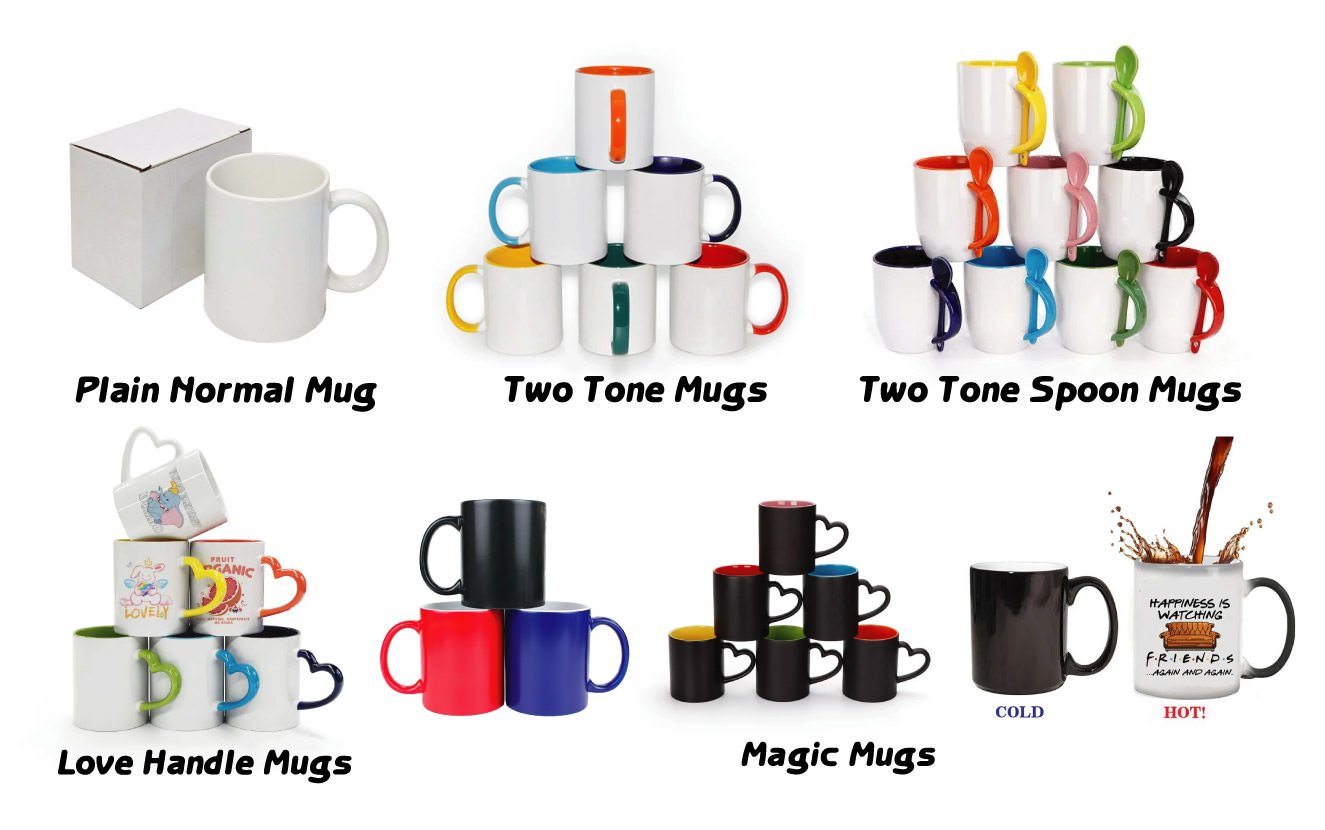
Selecting the right type of mug is crucial. Consider the following:
- Material: Ceramic and glass are popular choices due to their durability and print quality.
- Color: White or light-colored mugs work best for sublimation printing as they provide a clear canvas for vibrant designs.
- Size and Shape: Standard sizes are easier to work with, but you can choose unique shapes to add a special touch.
The design process is where your creativity shines. Here are some tips:
- Personalization: Include names, dates, or personal messages to make the mug unique.
- Imagery: Use high-quality images or graphics that are clear and well-suited for the mug’s shape.
- Text: Choose readable fonts and consider the placement to ensure the text is legible.
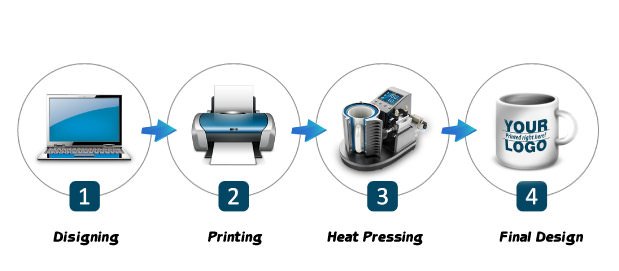
Step 1: Create Your Design
- Choose a Theme: Decide on a theme that suits the occasion or recipient.
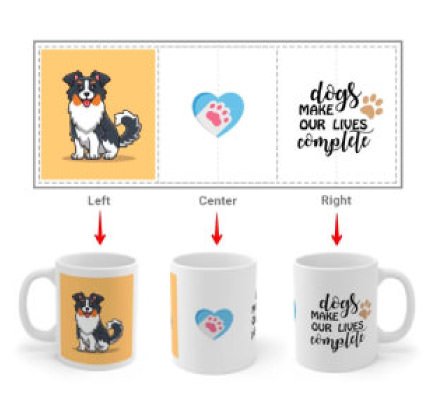
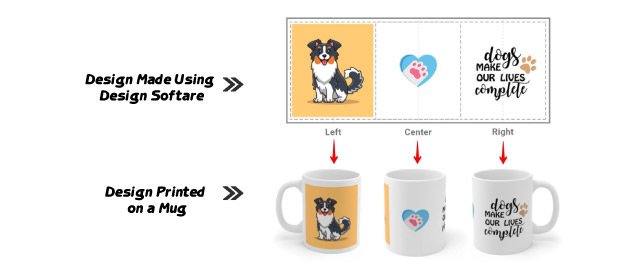
- Design in Software: Use design software to create your artwork. Ensure the design fits the mug’s dimensions.
- Print the Design: Print your design on sublimation paper using sublimation ink.
Step 2: Prepare the Mug
- Clean the Mug: Make sure the mug is clean and dry.
- Cut the Design: Trim the printed design to fit the mug precisely.
Step 3: Transfer the Design
- Position the Design: Secure the design onto the mug with heat-resistant tape.
- Heat Press: Use a heat press machine to transfer the design. Follow the manufacturer’s instructions for temperature and time settings.
- Cool Down: Allow the mug to cool before removing the paper and tape.
Step 4: Finishing Touches
- Inspect the Mug: Check for any imperfections or areas that need touch-ups.
- Cure the Design: Some methods may require additional curing time to ensure durability.
- Use High-Resolution Images: Ensure your images are at least 300 DPI for clear prints.
- Mind the Margins: Leave a small margin around the edges to avoid cutting off parts of the design.
- Test Prints: Do a few test prints to fine-tune colors and placement before the final transfer.
To keep your personalized mugs looking great:
- Hand Wash: Hand washing is recommended to preserve the design.
- Avoid Abrasives: Do not use abrasive sponges or detergents.
- Microwave and Dishwasher Use: Check if your mugs are microwave and dishwasher safe, as this can vary based on the materials and printing method used.
(FAQs)
Yes, you can use alternatives like oven baking for vinyl decals or hand-painting with ceramic paints.
Ceramic mugs with a special sublimation coating work best for sublimation printing.
The entire process, from design to transfer, can take about 30-60 minutes per mug.
No, you need a printer that is specifically designed for sublimation ink and paper.
For minor mistakes, you can use paint pens for touch-ups. For larger errors, you may need to start over with a new mug.

